If you want to make your own seamless patterns for digital paper, fabric mockups, or printables, Inkscape’s built-in seamless pattern template is one of the easiest ways to do it. And the best part is that it’s free. In this tutorial I’ll walk you through building a simple polka dot pattern on Inkscape from scratch. We’ll start from from opening the built in Inkscape seamless template, understanding how it works, then creating the polka dot design and exporting it as a PNG or JPG that you can use.
This is the written version of my video tutorial, so if you’d rather watch it in action, the video is embedded below
What You’ll Need
- Inkscape (free, works on Windows, Mac, and Linux): grab it from inkscape.org
Step 1: Open Inkscape’s Seamless Pattern Template
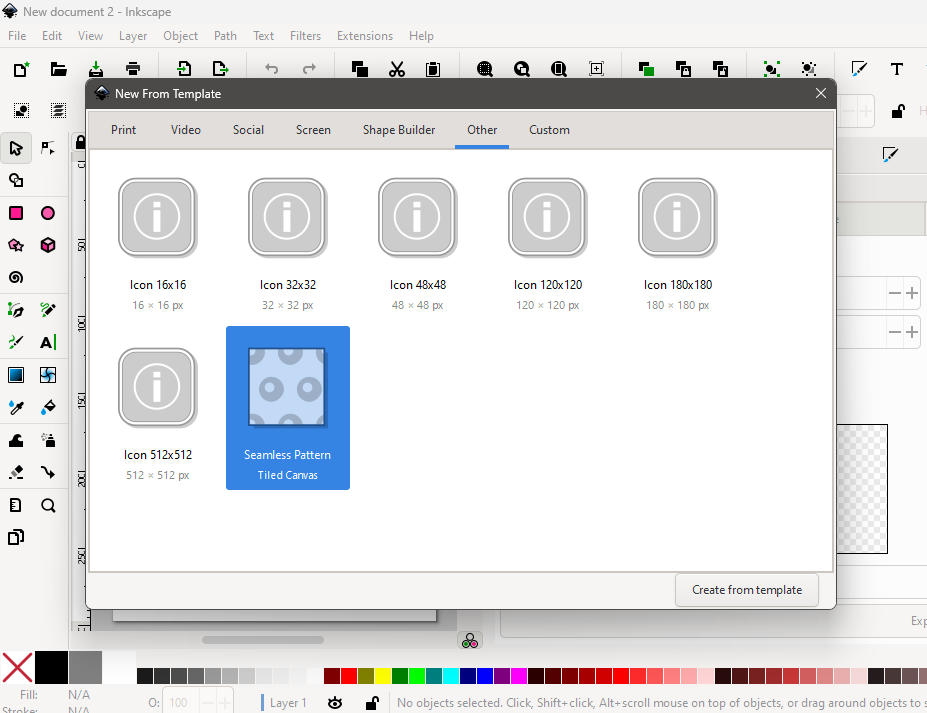
Once Inkscape is installed, go to File > New From Template. In the dialog, click over to the Other tab and select Seamless Pattern.
It’ll ask you for the canvas dimensions. Inkscape has an internal resolution of 96 units per inch. So if you want a 12 inch canvas, you multiply 96 x 12 to get the resolution to type in. I’m using a 12 inch canvas here, but you can size yours however you like.
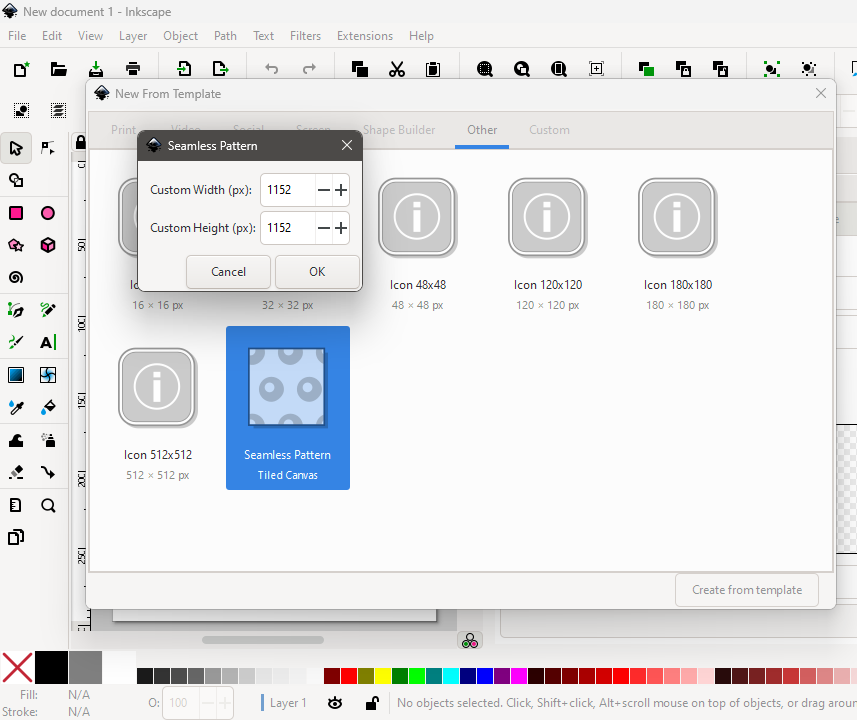
Click OK and give it a second to open.
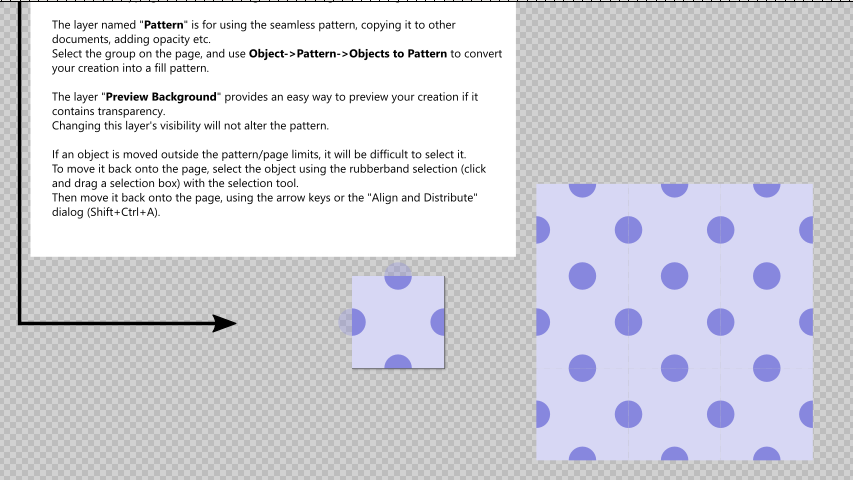
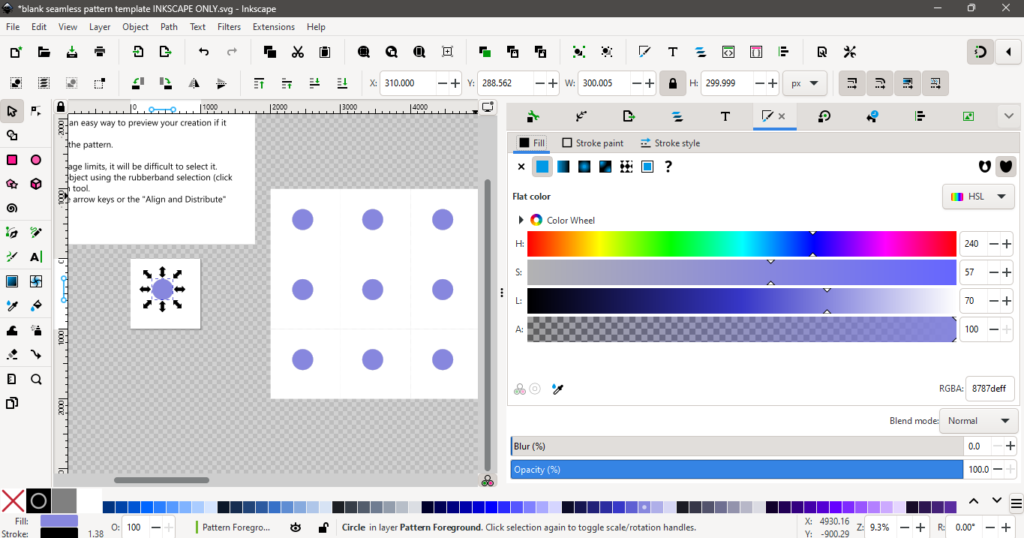
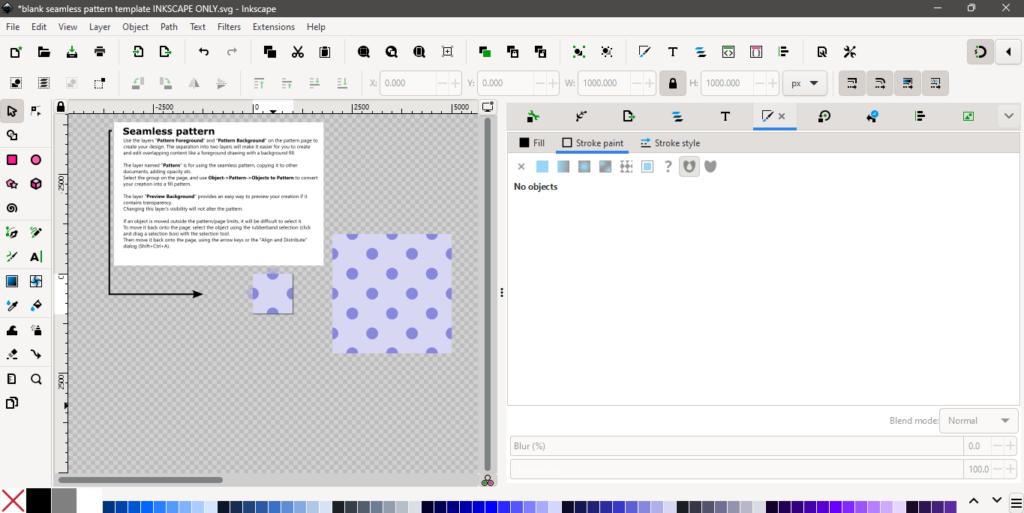
Step 2: Understand How the Template Is Built
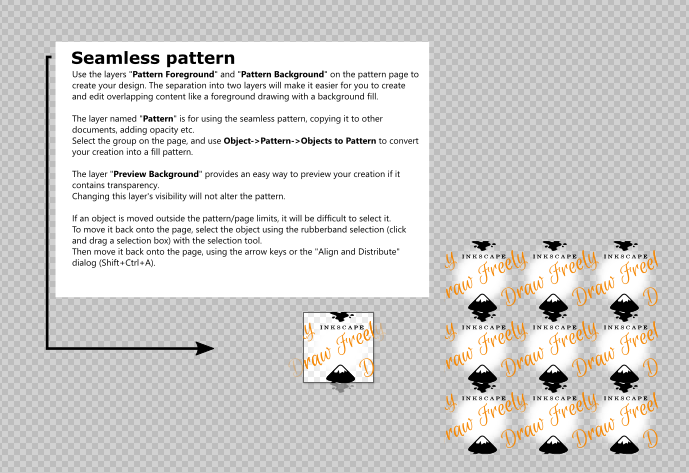
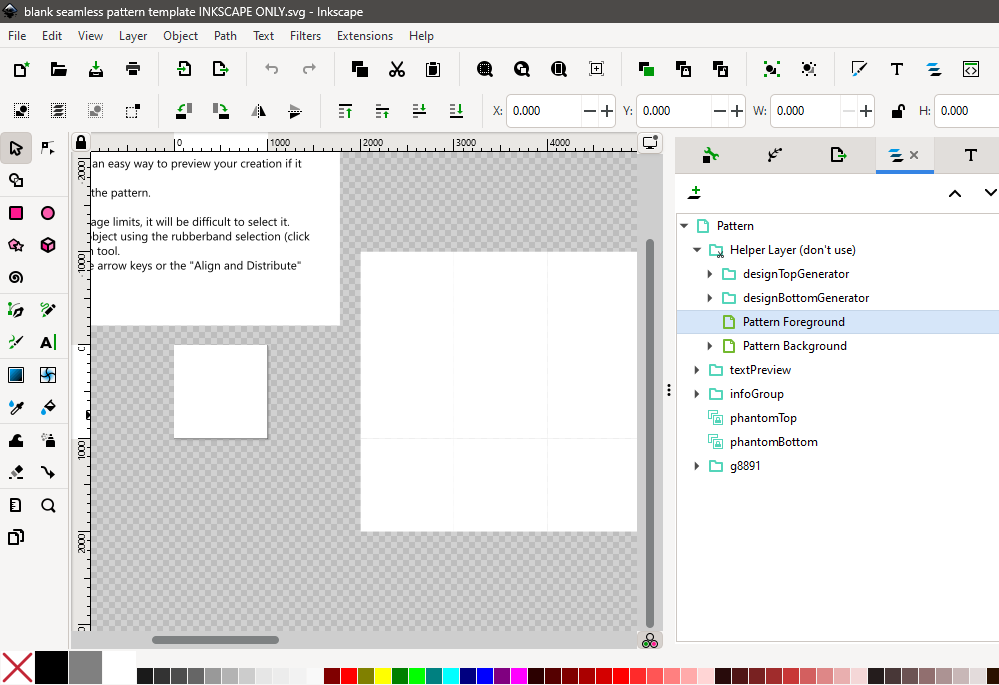
Once it opens, you’ll see the documentation notes at the top explaining the template, and your actual working page is the smaller square. Whatever you put on this page gets tiled. You’ll see the repeat in a 3×3 grid just next to the page. So you only ever need to work on the small page.
Now open the Layers panel: At the top menu select Layer > Layers and Objects or Ctrl + Shift + L. Expand the Helper layer, then expand Foreground and Background underneath it.
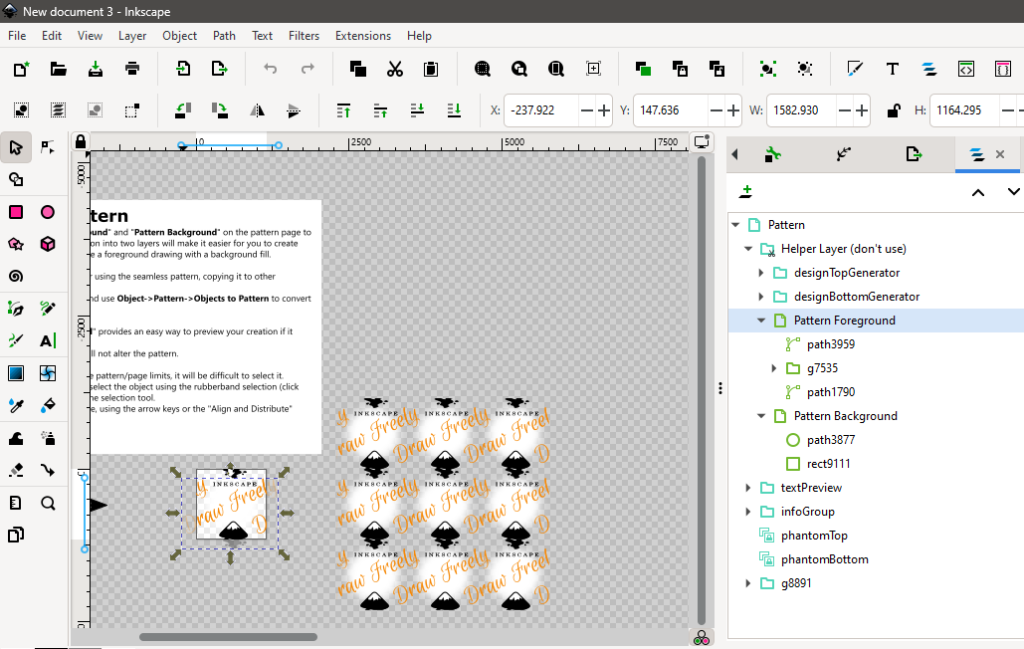
These two are the sublayers that matter:
- Foreground — anything here that crosses the edge of the page gets cut off and repeated on the opposite side.
- Background — this is just for a simple fill or shape that stays fully inside the page borders.
Try toggling the foreground layer’s visibility on and off so you can see exactly what’s living in each one before you move on.
Step 3: Turn the Template Into a Reusable Blank
Rather than starting from the full template every time, it’s worth stripping it down once and saving a blank version you can reuse for every future pattern.
Delete everything inside the Foreground layer (right-click each element and delete). In the Background layer, only delete the circle path and leave the rectangle.
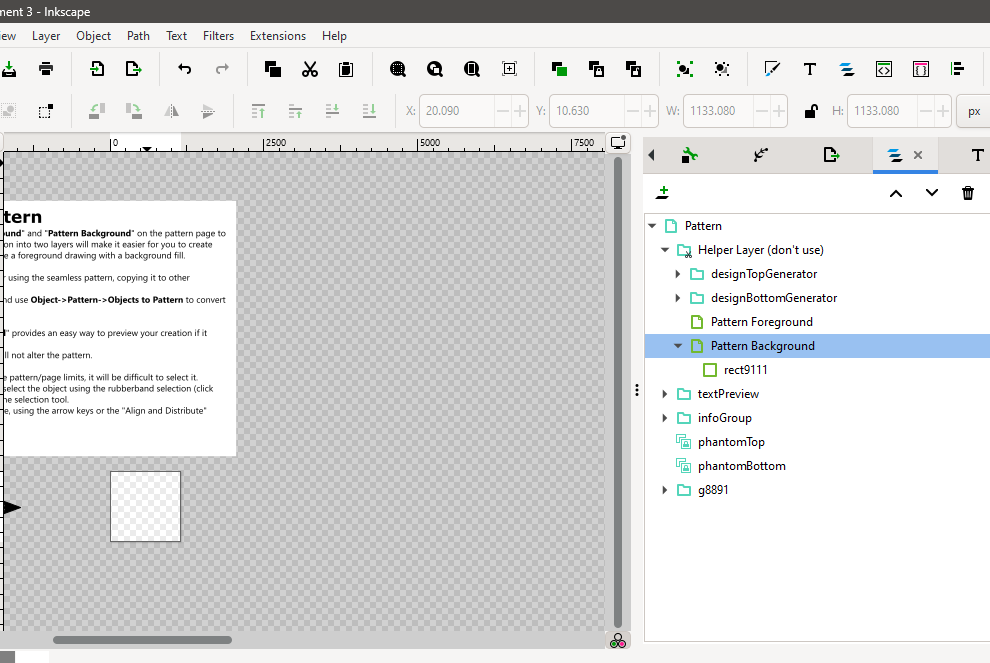
That rectangle is your background fill and it starts out transparent, so we need to give it a color. Click the rectangle in the background layer. Then go to the top menu and click Object > Fill and Stroke or Ctrl + Shift + F.
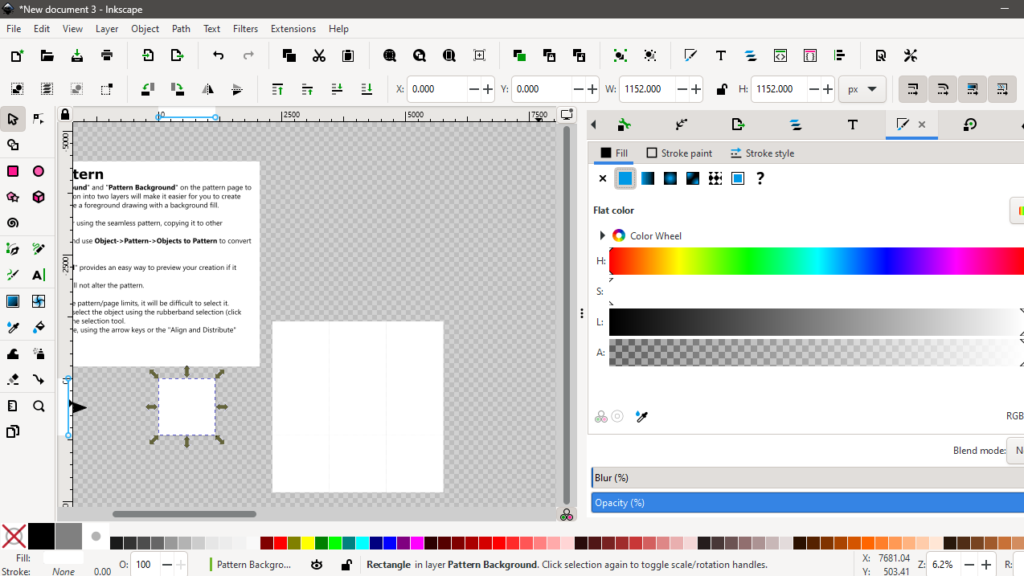
Once the panel opens, click the Fill tab. Click the little solid color square (it says ‘flat color’ when you hover over it) and pick whatever you want (white works fine as a neutral starting point).
Save this as your blank template file — File > Save As — somewhere you’ll remember. This is the file you’ll duplicate every time you start a new pattern.
Step 4: Set Up Your Working File
Create a new folder for this specific pattern, then copy your blank template into it and rename it. Keeping everything in one folder per pattern makes it way easier to find later.
Step 5: Draw the Polka Dots
Open your copied file, pull up the Layers panel again (Ctrl + Shift + L), and click into the Foreground layer inside the Helper layer.
Click the arc/ellipse tool (or press E) and hold Ctrl (or Cmd on Mac) while you drag to draw a perfect circle instead of an oval. Once it’s drawn, press S or switch to the select tool to get out of drawing mode.
Open Fill and Stroke again. If there’s a stroke enabled, click the X on the stroke swatch to turn it off. Then set your fill color to whatever you like from the palette.
Turning on Snapping to Line Up Dots
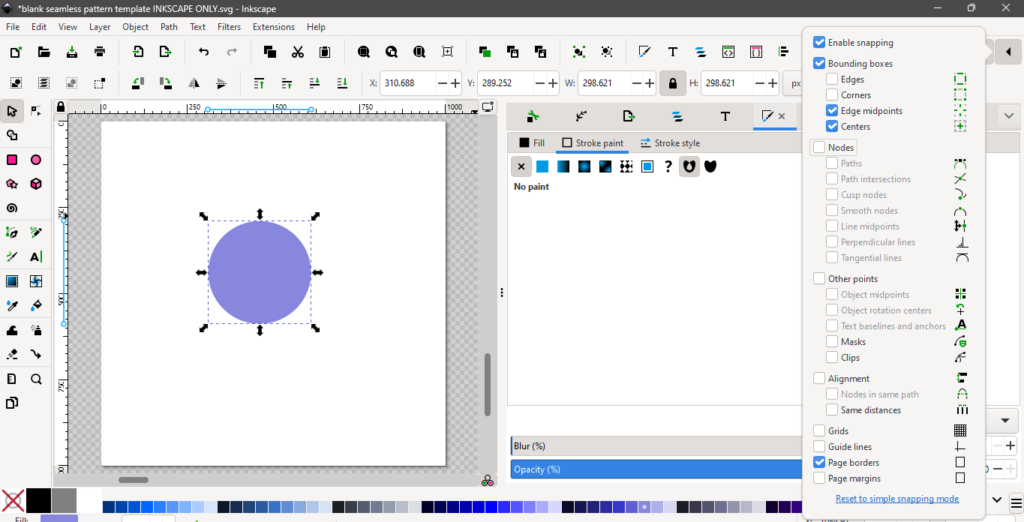
In the top right corner of the canvas area, click the snapping toggle to enable it. You can also just press % on your keyboard. On most layouts that’s Shift + the number key with the percent sign on it. Open the snapping options menu.
- Enable snapping — checked
- Bounding boxes — checked, but only turn on corners and edge midpoints underneath it
- Page borders — checked
With snapping on, drag your circle so it sits centered on the top edge of the page. You’ll see it king of snap into place once it’s lined up. Release it.
Then right-click and duplicate the circle, and drag the duplicate to the left edge of the page, centered vertically, and let it snap there too.
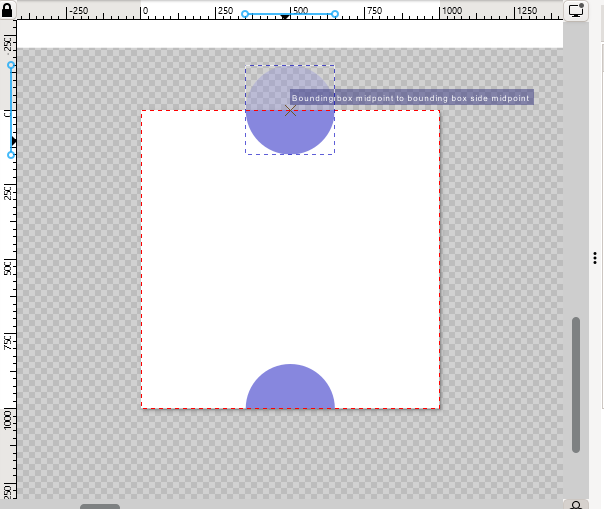
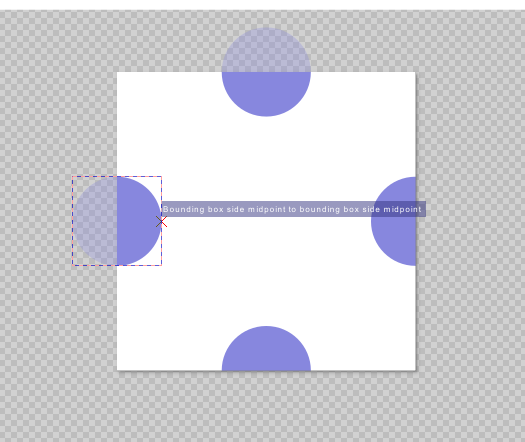
That’s your polka dot pattern. Because these dots sit in the foreground layer and cross the page border, Inkscape automatically mirrors them on the opposite edges when it tiles.
Step 6: Color the Background
Click the rectangle on the page and change its fill. I went with a light blue for a simple monochromatic look.
You’ll notice as you change things that whatever touches the top and left borders of the page automatically shows up mirrored on the right and bottom in the 3×3 preview.
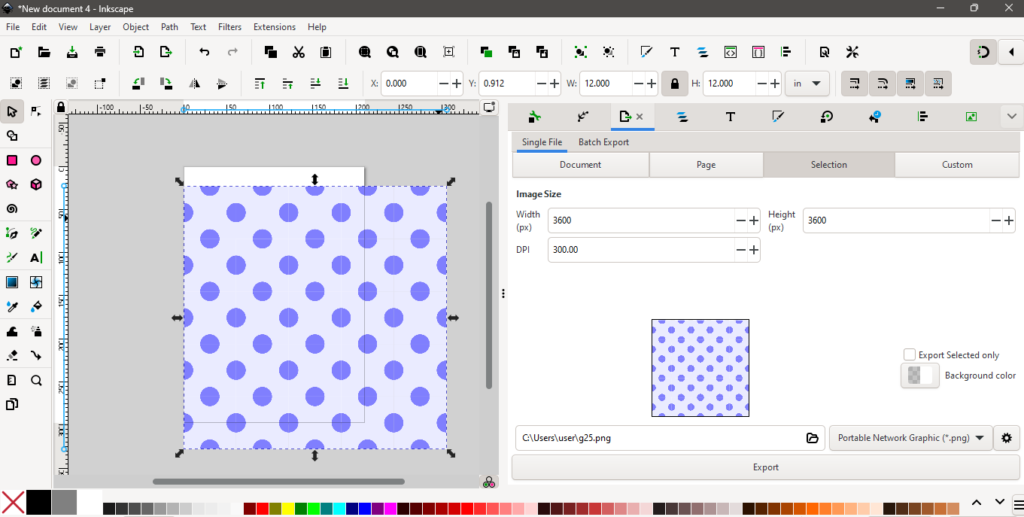
Step 7: Export the Tile
Go to File > Export, and make sure the Page tab is selected (not selection, not drawing). I’m setting up the export resolution as 300 DPI since that’s what’s pretty standard for digital paper and seamless patterns. On a 12 inch page, that comes out to 3600 x 3600 pixels.
If your DPI isn’t set to 300 by default, go to Edit > Document Properties and change it there.
Name your file, pick your export folder, and hit export. This single tile is your seamless block which is the only thing you need to to build a full repeating pattern.
Step 8: Tile It Into a Full Sheet
If you want to tile your seamless block for print on demand designs or perhaps digital paper. I’ll go through two ways to do this.
Method 1: Inkscape’s Clone Tool
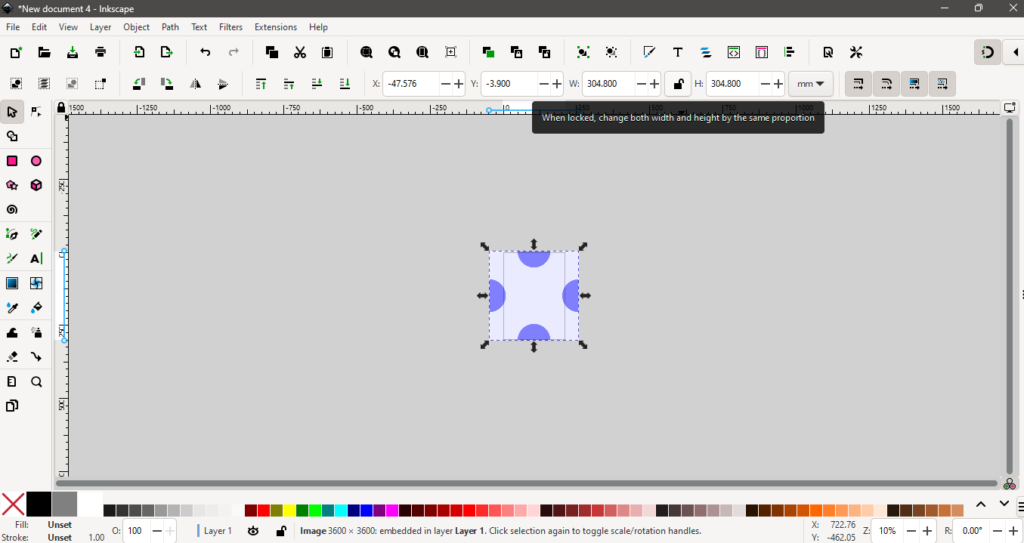
Open a new, regular Inkscape document (not the seamless template) and save it.
Go to File > Import and import the tile you just exported. Lock the width/height ratio (little lock icon below)and shrink it down to something manageable, like 1 inch, so it’s easier to work with while tiling.
Now go to Edit > Clone > Create Tiled Clones. Instead of setting a fixed width and height, it’s easier to just tell it how many rows and columns you want, for example, 5 by 5. Click Create and give it a moment; the more repeats you ask for, the longer it takes.
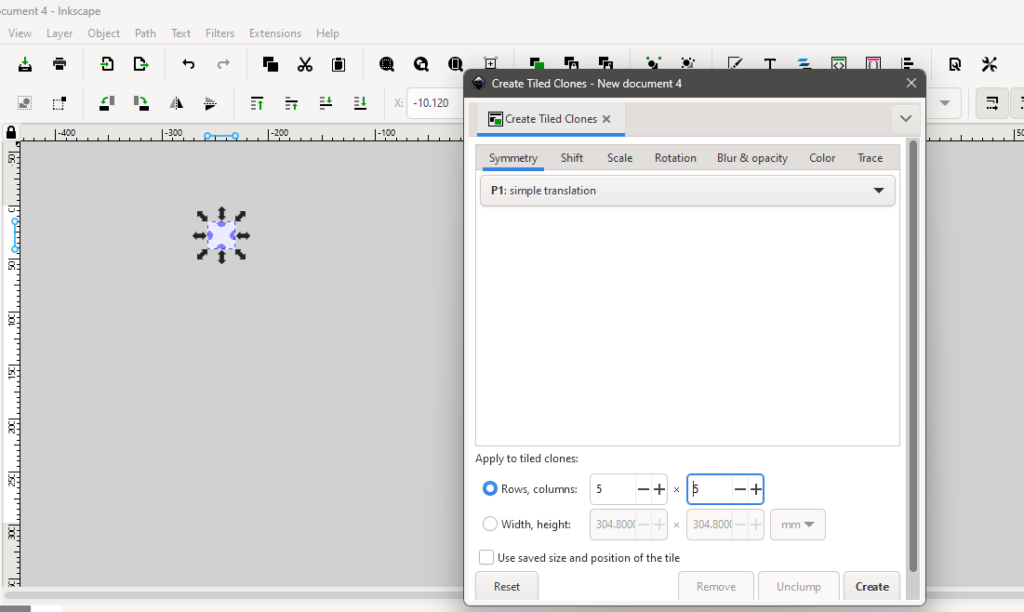
Once it’s done, close the dialog. If you drag the first tile aside, you’ll see your original block sitting underneath everything else is a clone of it. Select all the tiles and group them (Ctrl + G). Check the total size in the toolbar (in my case, a 1 inch tile x 5 repeats gave me a 5 inch sheet; scale your tile size up front if you need a specific final size, like 12 inches for standard digital paper).
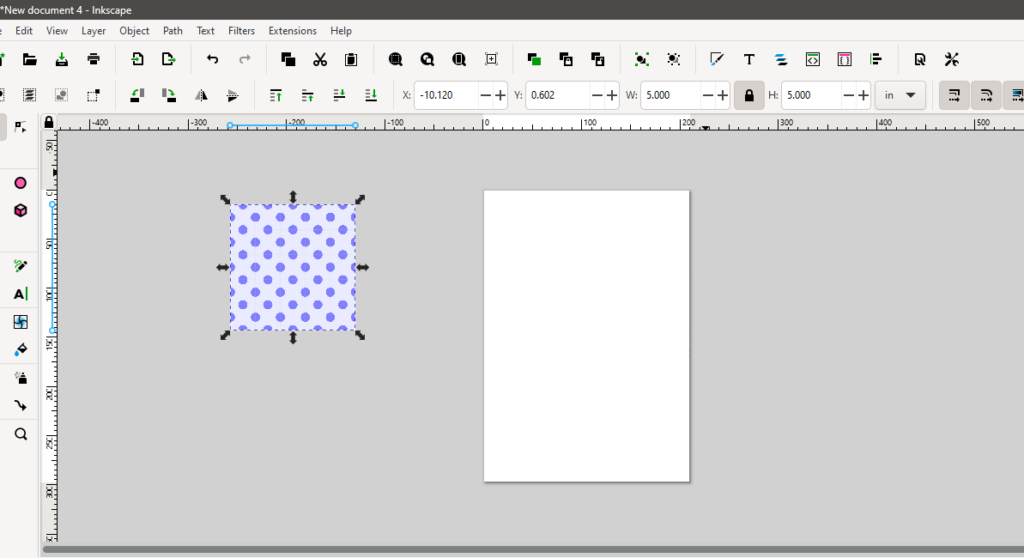
To export, select everything, go to File > Export or Ctrl + Shift + E, and this time make sure Selection is chosen and not Page. Set your format and destination, and as a good practice, double-check the export location by clicking the little folder icon before exporting.
Method 2: Free Online Tiling Tool
If you don’t want to do the clone process in Inkscape, there are free online tools that let you preview your pattern. This is my personal favourite tool.
Drag and drop your seamless tile, then use the slider to preview it tiled at different scales. It’s quick, but it only lets you export as PNG, and you don’t get as much control over final dimensions or scale as you do in Inkscape.
That’s it! Once you’re comfortable with this workflow, you can swap out the shapes on the foreground/background layers for pretty much any pattern you want, not just polka dots. Inkscape is an incredibly powerful tool and it’s absolutely free to use so it will only cost you your time.
See you next time with another Inkscape seamless pattern tutorial.