Today I will be breaking down how Inkscape’s built-in seamless pattern template works. I’ll be explaining what the template is made of, how to work out the dimensions of your page when using the seamless pattern template and how objects behave when placed in the foreground and background. You’ll also save your own blank version to reuse for future patterns.
This post is based on my YouTube tutorial which you can find below. I made both to work as a reference, so if you’re following along with my other pattern tutorials, you can come back here whenever you need a refresher on the basics.
Inkscape Seamless Pattern Youtube Tutorial
Opening the Template
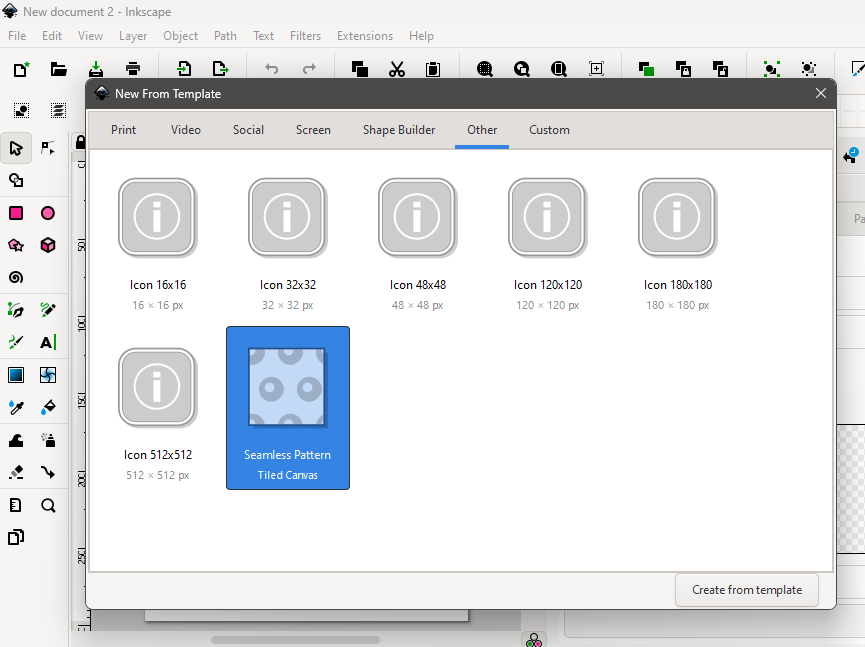
I will assume that you just opened Inkscape and are on a new document. Go to File, then New from Template. This opens a window where you can create a new project from any of Inkscape’s built-in templates.
In the top menu, click Other, then select Seamless Pattern (tiled canvas). Click Create from Template.
A small window will appear where you get to add your own custom dimensions.
Enter 384 pixels by 384 pixels. I’m choosing this specific number based on Inkscape’s internal resolution of 96 units per inch. Since I want a 4 inch by 4 inch page, I’ll just multiply 96 by 4 gives me 384. The specific page size matters because the page gets tiled seamlessly, as I will explain below.
Click OK and Inkscape will open a new document (seamless pattern).
Touring the Template
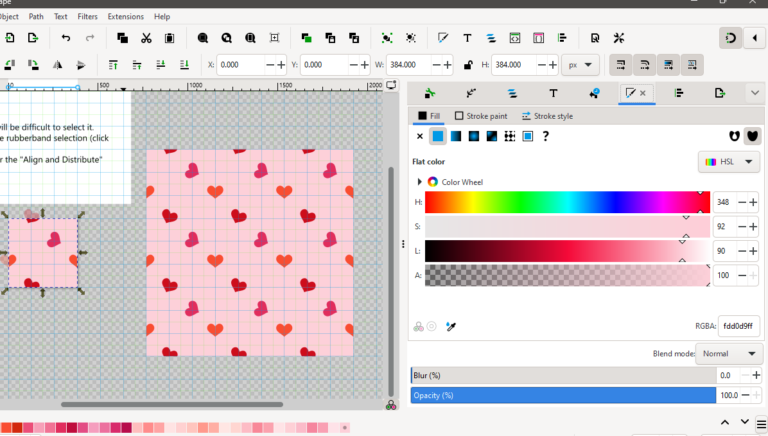
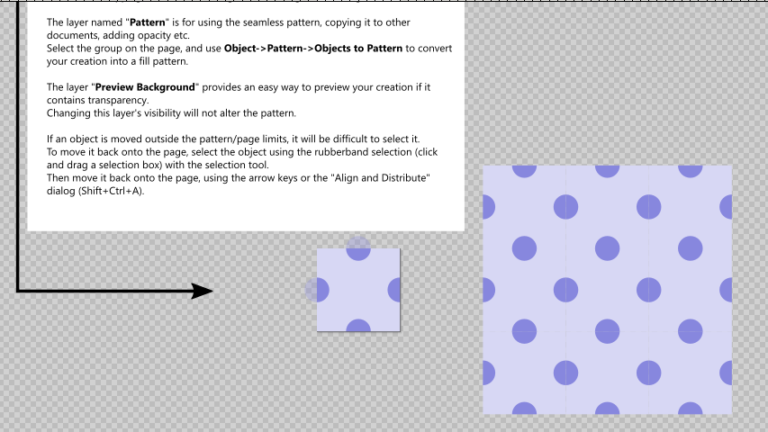
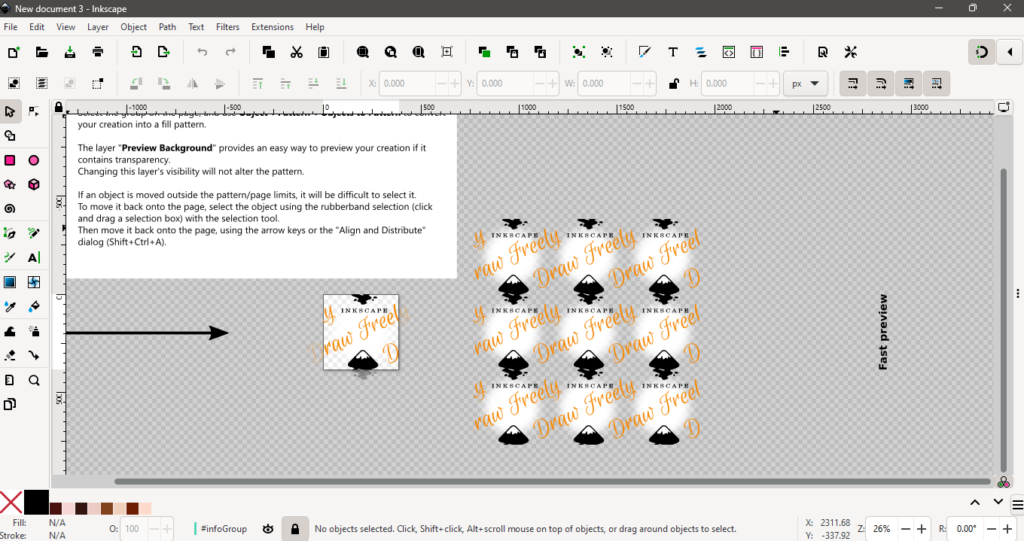
This template also includes documentation that you can read. The most important features are the page (the small square) and the preview, the panel where the page contents are repeated in three rows and three columns. This shows you how your seamless pattern tiles.
According to the documentation, the two layers that matter most are Pattern Foreground and Pattern Background. Open the Layers panel to see them. If it isn’t already open, go to Object, then Layers and Objects or Ctrl + Shift + L.
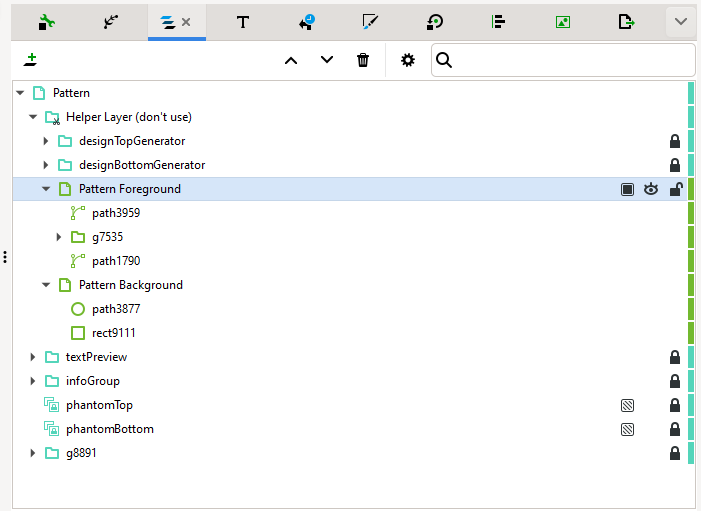
Inside the Layers panel, collapse the Pattern layer. Under this, collapse the Helper Layer. Here you will find the Foreground and Background. Collapse each one to see its contents.
Play around with the objects in the Foreground. It contains the text, “Draw Freely,” the Inkscape logo, and the text, “Inkscape.” Try moving each of these around the page and watch the preview as you do so. The position of an element can change, but the pattern stays the same and tiles seamlessly. You’ll also notice that anything in the Foreground that extends past the page border gets repeated on the opposite side.
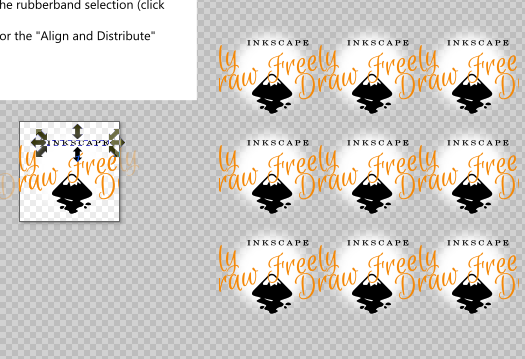
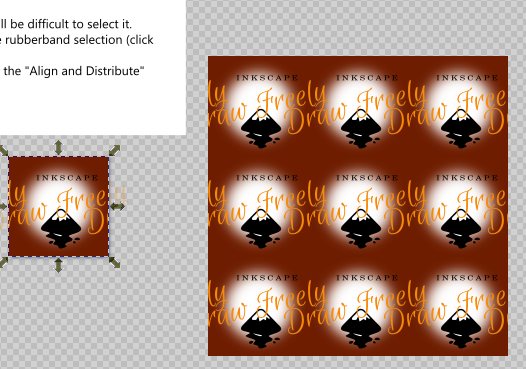
Now explore the Background layer. It a circle shape names “path” and a rectangle with no fill applied. Select the rectangle and open Object, then Fill and Stroke (Ctrl + Shift + F). Give it a solid color so you can see it clearly.
Testing how objects behave in the Foreground and Background layers
To understand the difference between the two layers, let’s first delete the existing elements and test our own shape.
In the Foreground layer, select and delete (right click and delete or press delete on keyboard) each element In the Background layer, only delete the circle path. We’ll keep the rectangle, since we still want a plain background fill. Set that fill to whatever color you’d like using Fill and Stroke panel.
Select the Foreground in the Layers and Objects panel and then go to the toolbox and use the Ellipse or Arc tool to draw a simple circle on the main page. Give it any color that provides a nice contrast to the background color.
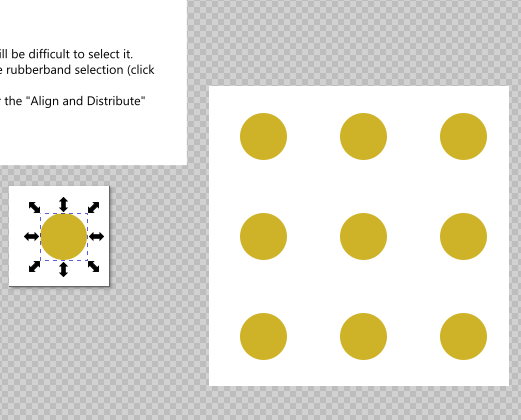
Move the circle to the top left corner of the page. You’ll see that the portion that extends beyond the border repeated on the opposite side of the page. In this case, that’s the bottom right. Move it along the top edge and the same thing happens.
This is how any element in the Foreground layer behaves.
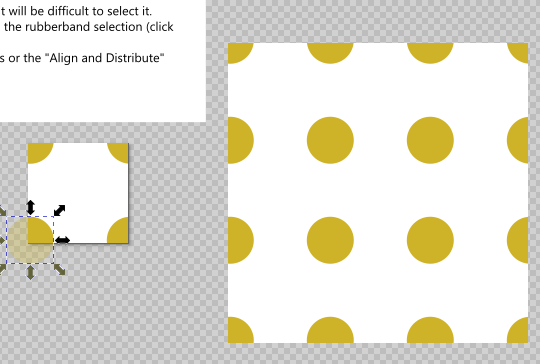
Now in the Layers and Objects panel, select the same circle and drag it into the Background layer. Move it to the left edge of the page. It still tiles seamlessly here. But move it to the bottom edge and it gets cut off instead of repeating. The same happens on the right edge. At the top edge, though, it does repeat.
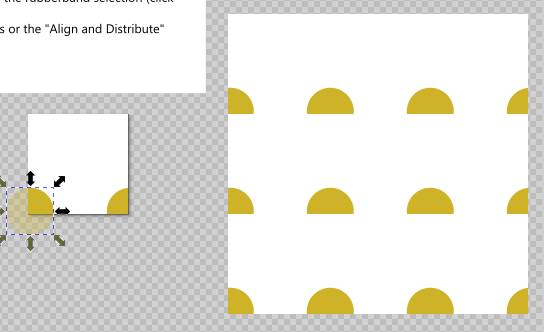
The main takeaway from this little experiment is that any objects that you would like to repeat across the page borders should be placed in the Foreground layer. Keep the Background layer as a simple fill.
The only exception is when you’re certain an element will stay fully contained within the page. In that case, it’s fine to leave it in the Background.
Once you’ve finished testing, delete the sample circle.
Saving your blank template
Save this cleaned-up file version. Go to File, then Save As, and name it something like “Blank Seamless Pattern.” I personally like to add a note like “do not edit” to the filename to remind yourself that this file exists as a copy source.
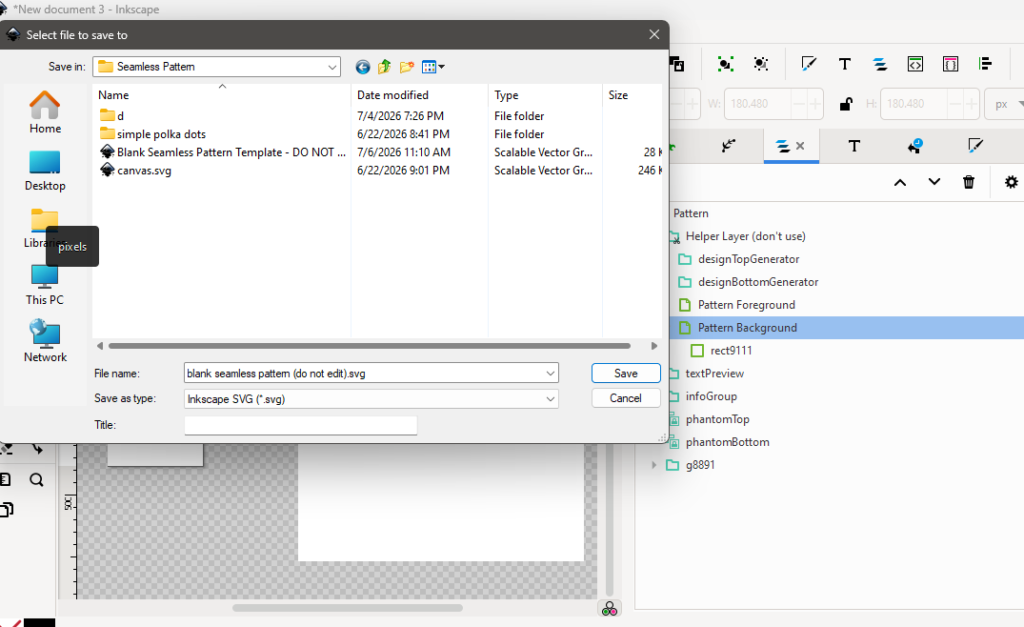
From now on, whenever you’d like to design a new pattern, make a copy of this blank file instead of opening Inkscape’s original template.
That’s it for now. We’ve covered the basics of how Inkscape’s seamless pattern template works. Future pattern tutorials on this site, covering designs like checkerboard, gingham, and florals, will build on this foundation.