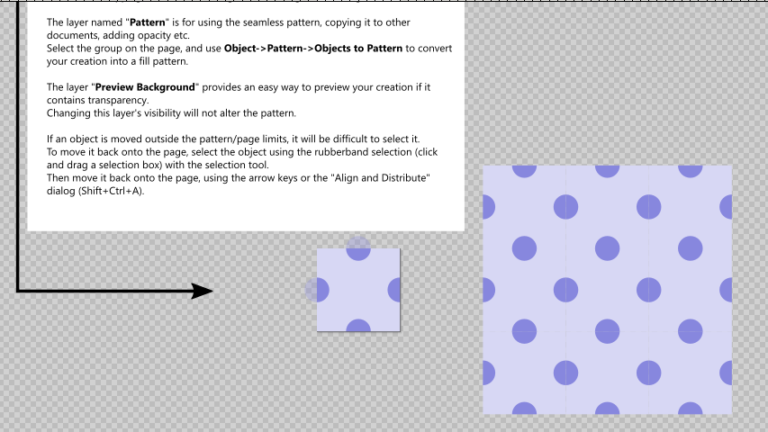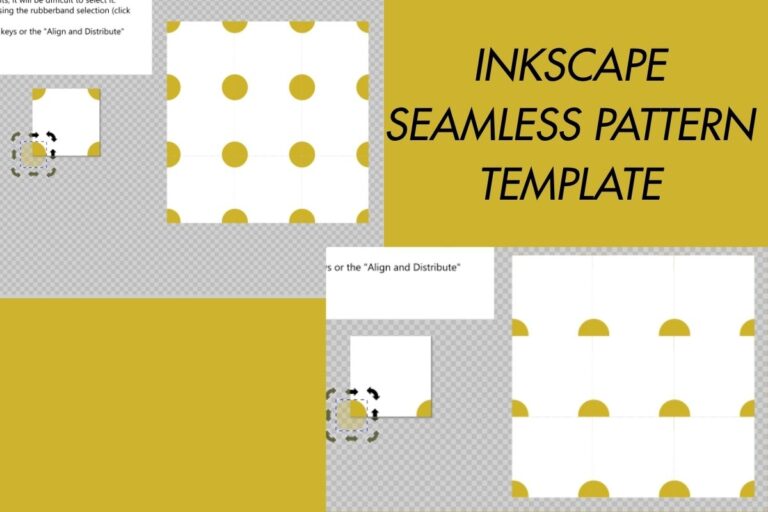
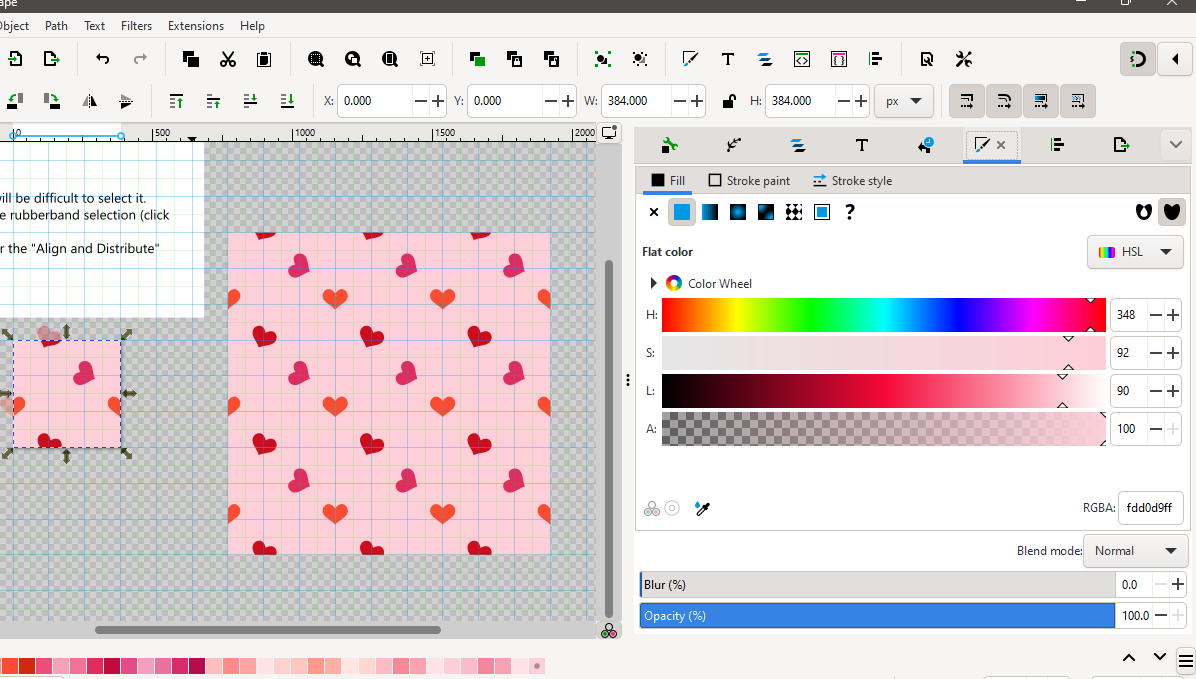
This tutorial builds on the blank seamless pattern template covered in the previous video. If you haven’t set that file up yet, read how the Inkscape seamless pattern template works first, since this post picks up right where it left off. Here we’ll turn that blank file into an actual pattern using a three-repeat layout of a heart shape.
Setting up your working file
Open your blank seamless pattern file (you can download mine if you don’t have one) and save a copy under a new name. Working from a copy each time means your original blank template stays untouched and ready for the next design.
Setting a grid for pattern placement
This layout follows the method described in Pattern Design by Lewis Foreman Day, whose free public domain copy is available on Internet Archive. The idea is to divide the page into three columns and three rows using guide lines, which gives you placement points for the repeating shape.
Open Document Properties, and go to the grid settings. Keep the origin as is. For the X and Y spacing, divide your page’s pixel length by 6. For a 384 pixel page, that works out to 64 pixels. Dividing by 6 instead of 3 gives you a finer grid: the major gridlines, spaced every 2 grid lines, mark out your three columns and three rows, while the minor gridlines in between help with more precise placement.
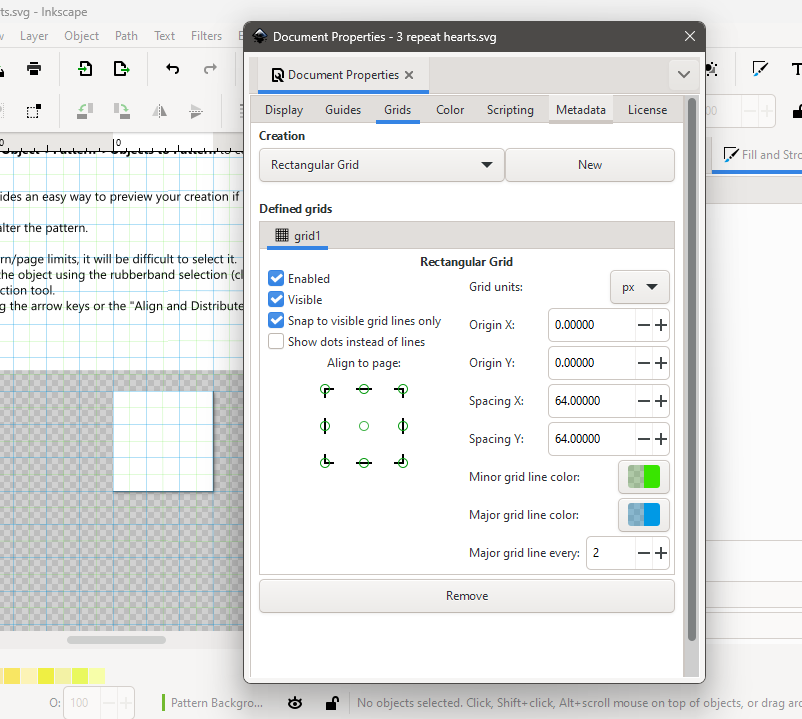
Close the Document Properties window and zoom into the page. You should see the major gridlines forming three columns and three rows, with the minor gridlines filling in a finer grid underneath.
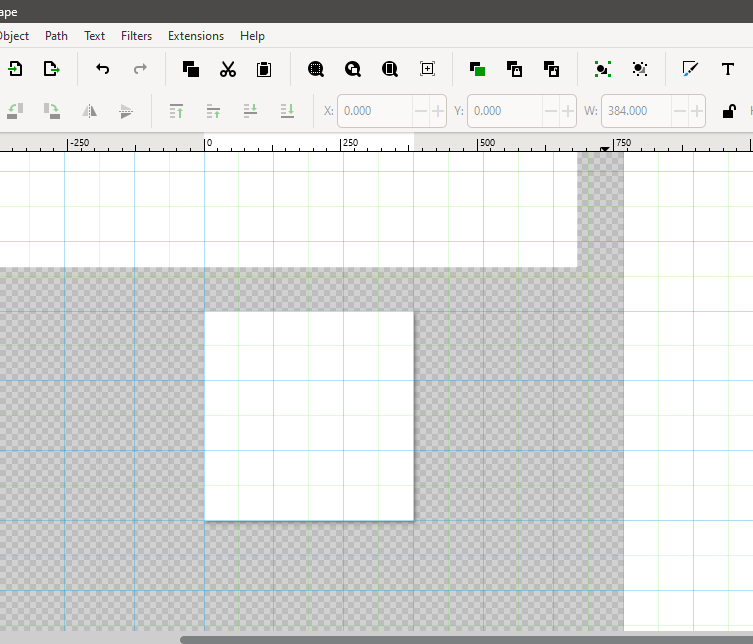
Adding the heart shapes to the grid
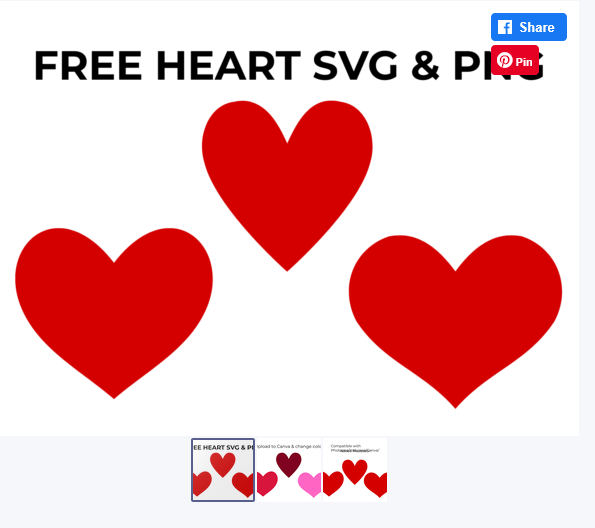
For this pattern, we’ll be using a simple love heart. I have provided a free heart shape set that you can download, if you can’t draw your own. Choose the ‘Download this product as a freebie (No Free Trial)’ option. You’ll need to sign up for a free account but you don’t need to join the free trial. If you do chose to make a purchase later, I will make a small commission.
Open the Layers panel (Ctrl + Shift + L) and make sure the Foreground layer is selected, since this is where repeating elements belong, as covered in the previous tutorial. Go to File, then Import, and select any one of the SVG versions of the shape (not PNG).
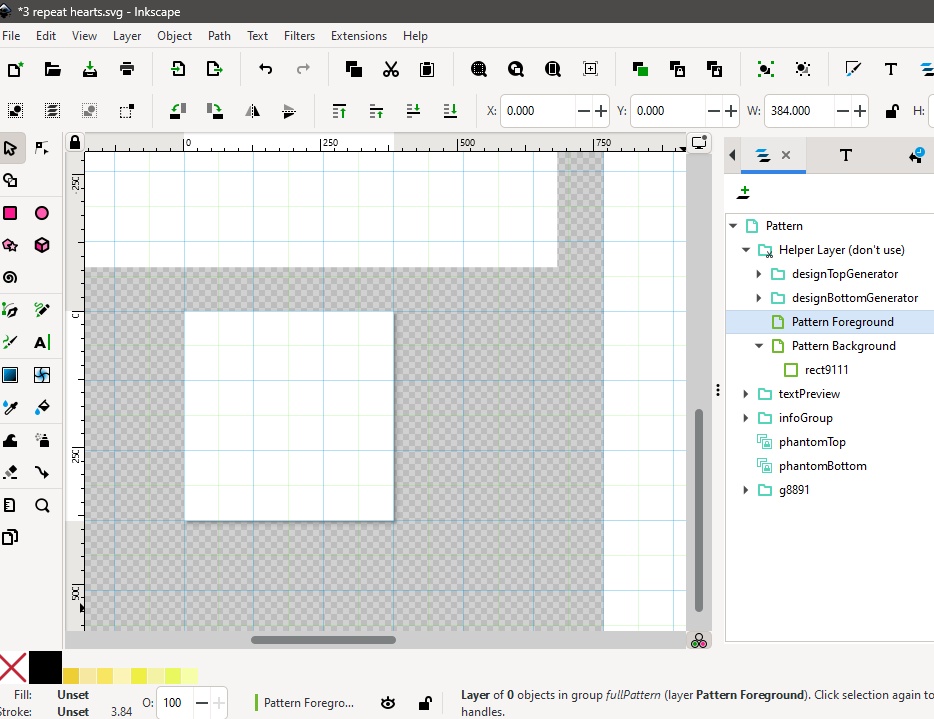
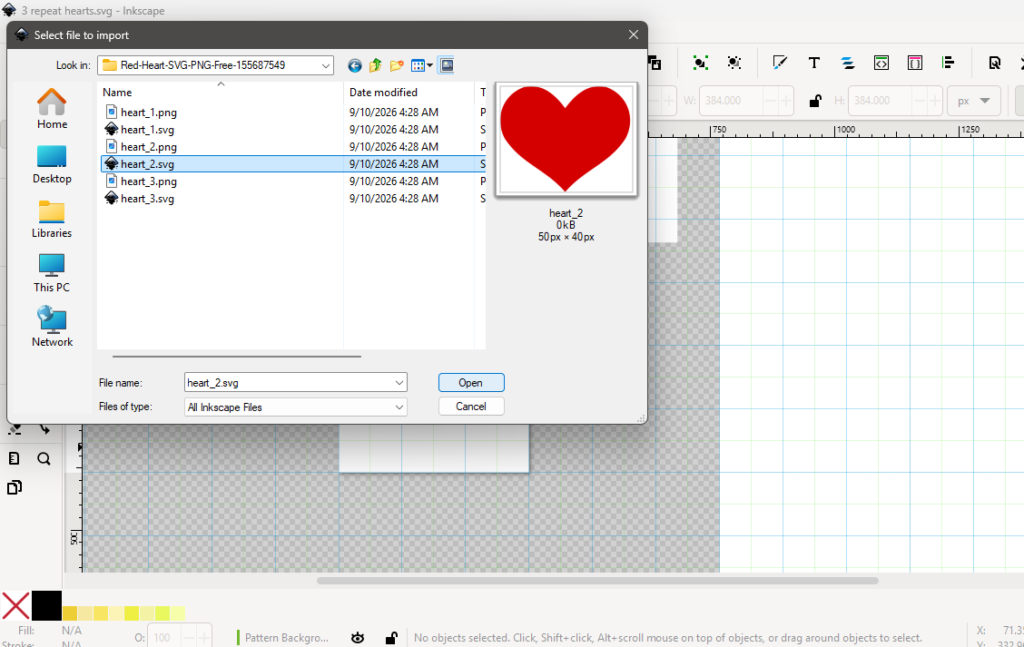
If the shape isn’t positioned within the page when imported, you’ll need to adjust its X and Y coordinates manually, then resize it. Do this by clicking the shape in the foreground layer (open panel using Ctrl + Shift + L) and entering 0 for both X and Y in the toolbar.
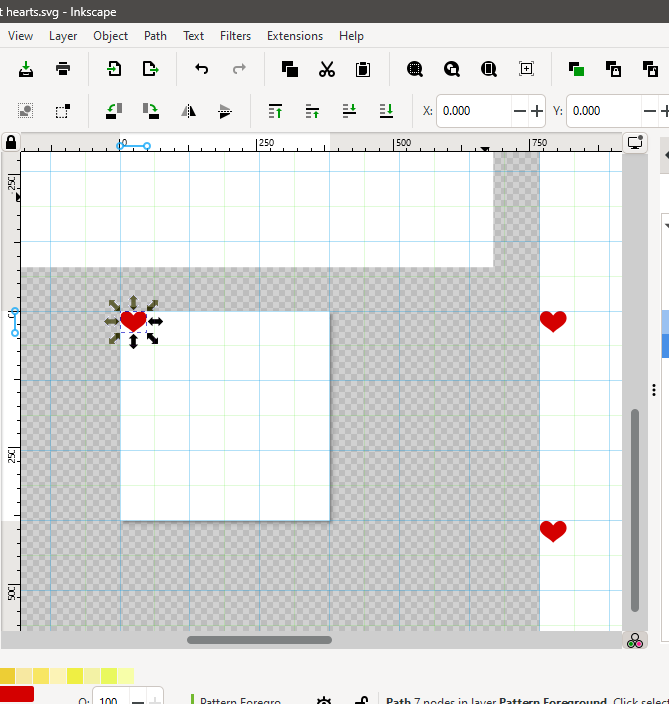
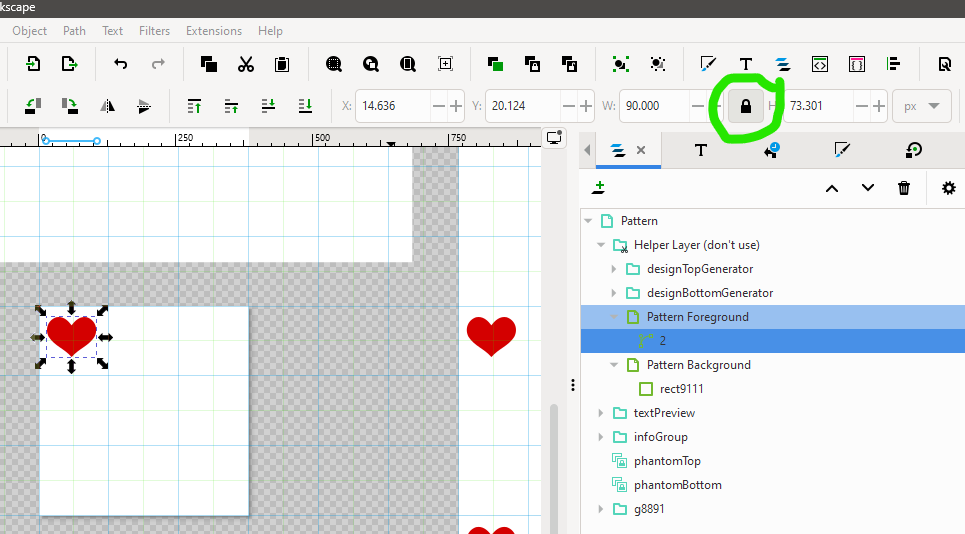
To resize the shape, lock the width and height using the lock icon in the tool bar and resize your shape to your liking. Take note that the final size needs to fit within a major grid box.
Creating the three-repeat method
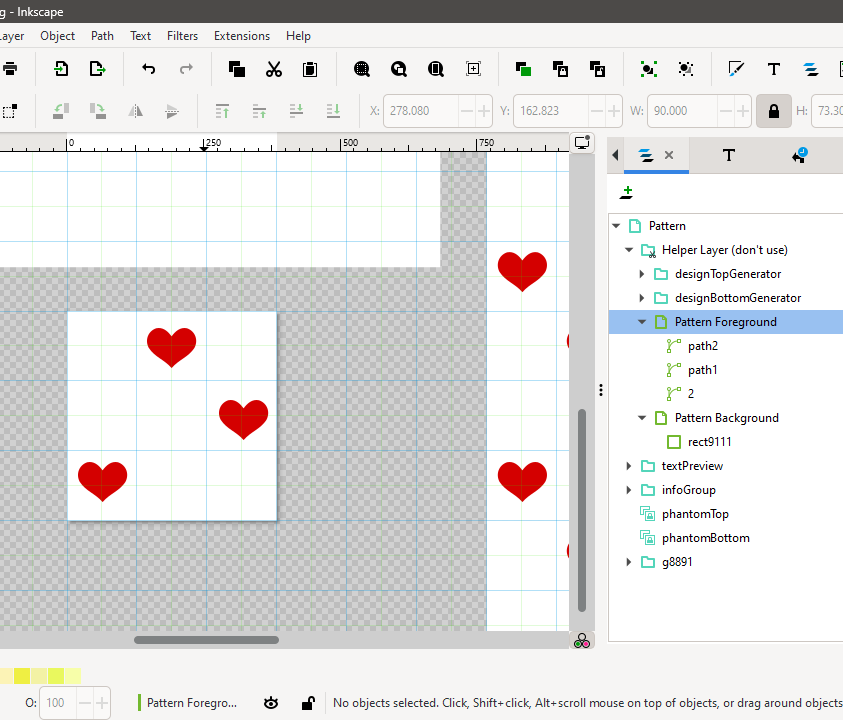
This layout uses a specific method for offsetting a repeating motif across a grid. Place your first shape in the first row second column. Duplicate it, and move the duplicate into the second row third column. Duplicate again, and move that third copy into the last row first column. This staggered placement is what creates the repeat pattern shown in the reference book, rather than a flat, uniform grid.
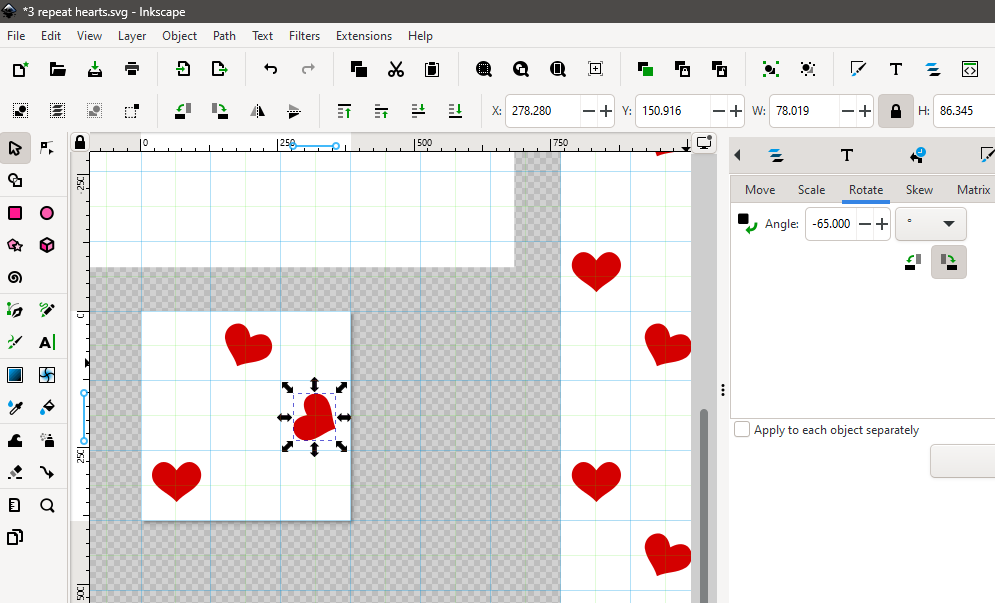
To add variation between the three shapes, rotate each one differently using Object, then Transform (Ctrl + Shift + M), then the Rotate tab. Feel free to play around with the rotation but for the purpose of this tutorial I’ll be using the following settings. Rotate the first shape clockwise by 25 degrees and apply. Rotate the second shape clockwise by -65 degrees and apply. Leave the third shape at its original rotation.
Snapping Shapes to the Grid
To line each heart up precisely with the grid intersections, turn on Inkscape’s snapping tool. Click the arrow to open the snapping options, then enable bounding box and under that, centers. Enable grids at the bottom of the menu as well. Disable any other snapping options that are turned on by default so they don’t interfere.
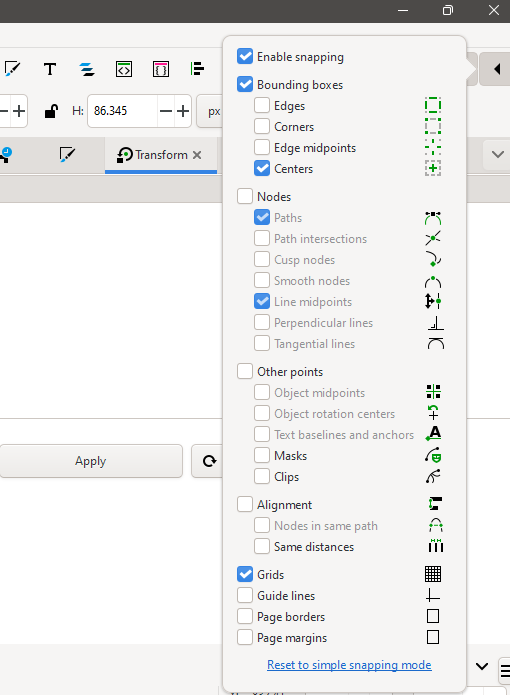
With snapping active, click and drag each heart shape until its center snaps to a grid intersection point. Repeat for all three shapes.
Checking the Pattern Block Edges
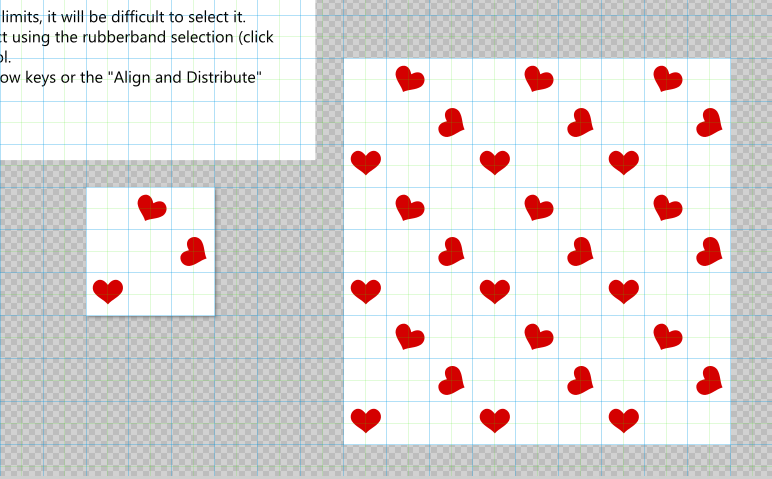
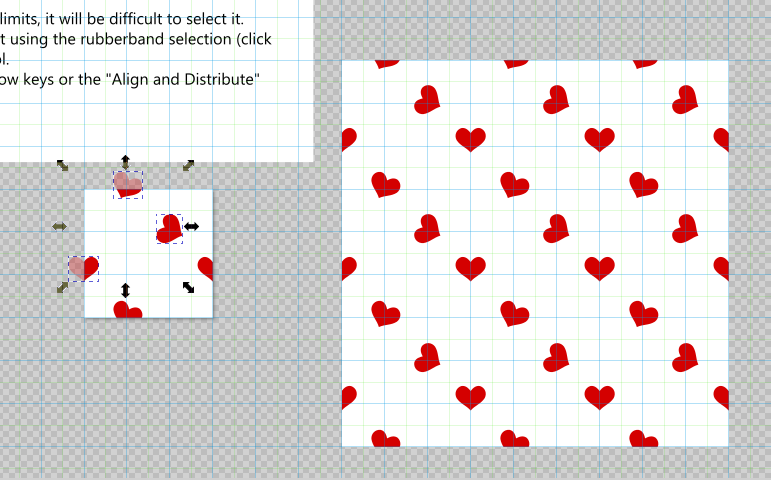
Once your shapes are placed, you check how the pattern behaves across the edges of the page block. Select all three shapes and nudge them toward the top, bottom, left, and right edges of the page to confirm the tiling still looks correct once an element crosses a border.
Adding Color
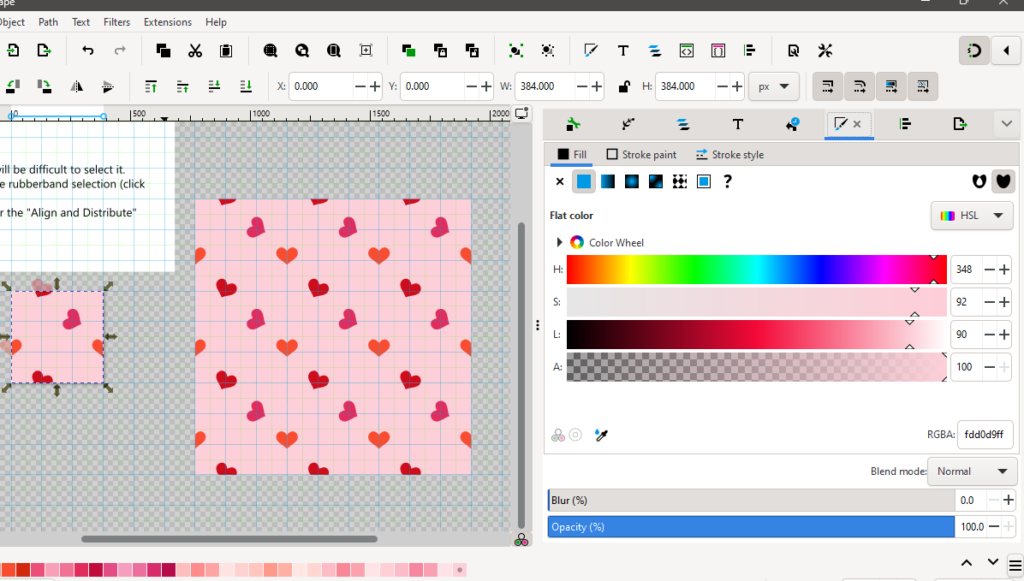
With the placement finalized, style the pattern. Click on a heart shape and open Fill and Stroke using the shortcut Shift + Ctrl + F.
You could give each heart a slightly different shade for visual interest, for example one darker and one lighter within the same color family. Then select the background rectangle in the Background layer and set it to your chosen background color, for example a light pink.
Exporting the Pattern
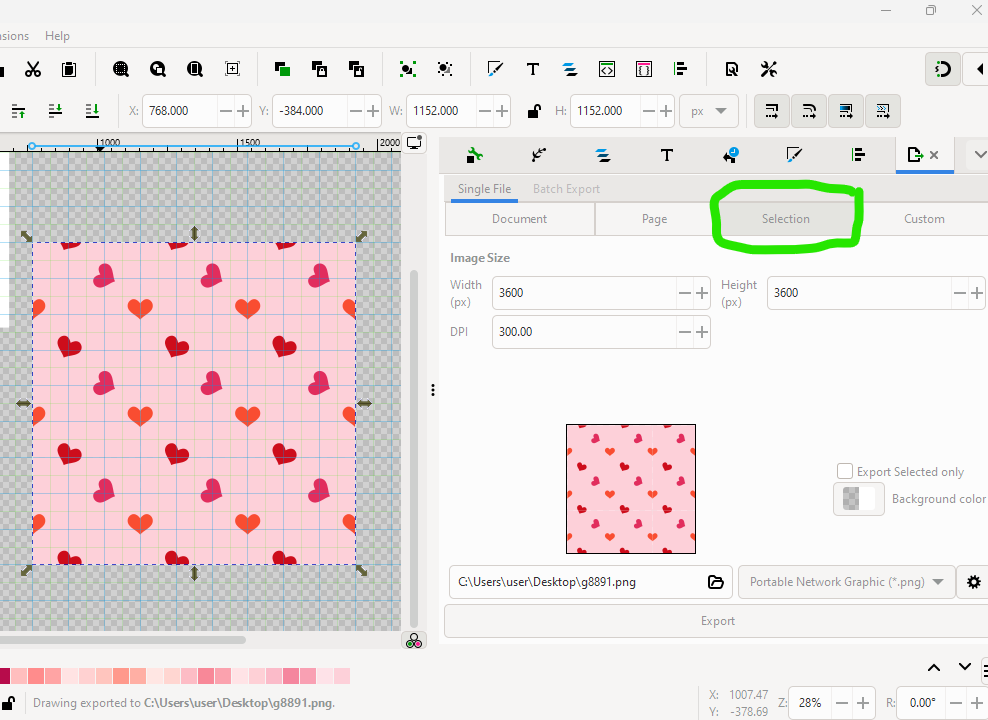
Open the Export panel from File, then Export. In the Layers panel, select the group containing the full tiled page, which appears as the main page repeated across all nine grid boxes in the 3×3 preview. Select that group in the layers panel and then go to export and make sure Selection is selected.
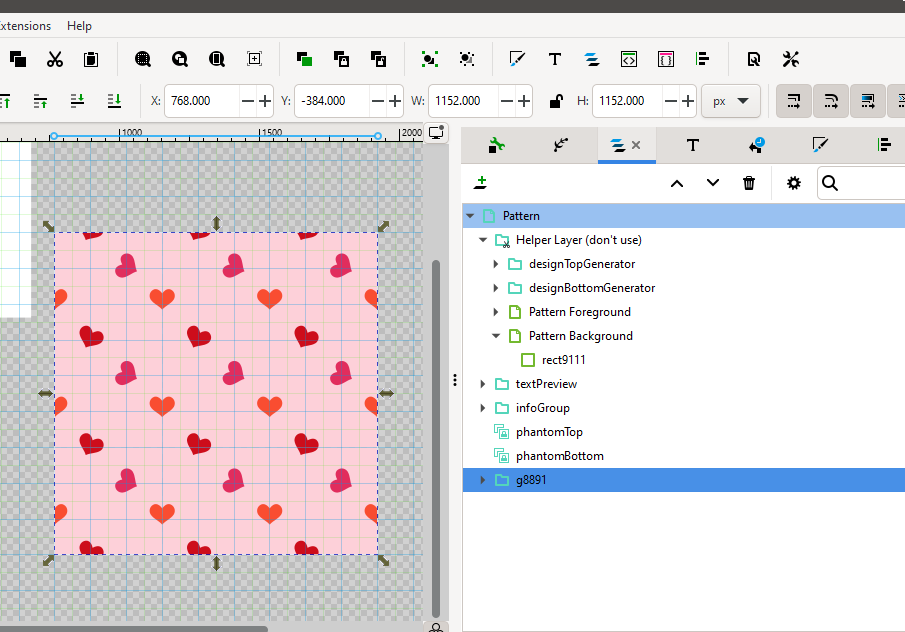
At 300 DPI, exporting the full tiled selection produces a 3600 by 3600 pixel image, equal to 12 by 12 inches. Choose PNG or JPG depending on what you need, then export.
Save the file once the export is complete.
Turning the Pattern Into a Larger Digital Paper Sheet
If you want a bigger digital paper file rather than just the tiled swatch (check out my other blog post for a full tutorial + video), open a new plain Inkscape document and import the PNG you just exported. Select it, right-click, and group it. Set your document dimensions to inches, for example 12 by 12 inches for a standard digital paper size.
Go to Edit, then Clone, then Create Clone, and use cloning to repeat the imported pattern across the larger canvas. Any faint lines you see between tiles at this stage are just on-screen artifacts and won’t appear in the final export.
Once you’re happy with the coverage, go to File, then Export, select your selection rather than the full page, and export the final digital paper file.
That’s the full workflow for turning a blank seamless pattern template into a finished, colored, three-repeat pattern and exporting it as a ready-to-sell digital paper file. The next tutorial in this series will cover a different repeat method, so keep this one bookmarked as a reference for the grid and export steps.